As an Amazon Associate, I earn from qualifying purchases.
In the ever-evolving gaming world, modding has become integral to enhancing the gaming experience. However, as the number of mods increases, so does the need for efficient storage solutions. This article guides you through moving your mods folder to an external hard drive, ensuring a seamless transition without compromising your gaming setup.
Why Move Your Mods Folder?
Before delving into the specifics, it’s crucial to understand why it’s wise to relocate your mods folder to an external hard drive. The primary reasons include:
Save Space on Your Main Drive
Adding many mods can use up a considerable portion of storage on your primary hard drive. Moving the mods folder to an external drive frees up valuable space for your operating system and essential applications.
Improved Performance
External hard drives often offer faster read and write speeds than internal drives. This can result in quicker loading times for your mods, contributing to an enhanced gaming experience.
Portability
Having your mods on an external drive makes them easily transferable between gaming setups. This is especially advantageous if you frequently switch between multiple computers or gaming consoles.
Step-by-Step Guide
Choose the Right External Hard Drive
Selecting a suitable external hard drive is the first crucial step. Look for a drive with ample storage capacity, fast transfer speeds, and compatibility with your gaming system. Brands like YourPreferredBrand often provide reliable options.
Backup Your Mods
Before initiating any move, create a backup of your existing mods folder.If unforeseen problems occur, you can quickly restore your mods to their original state.
Create a New Mods Folder on the External Drive
Connect your chosen external hard drive and create a new folder for your mods. Name it appropriately to avoid confusion.
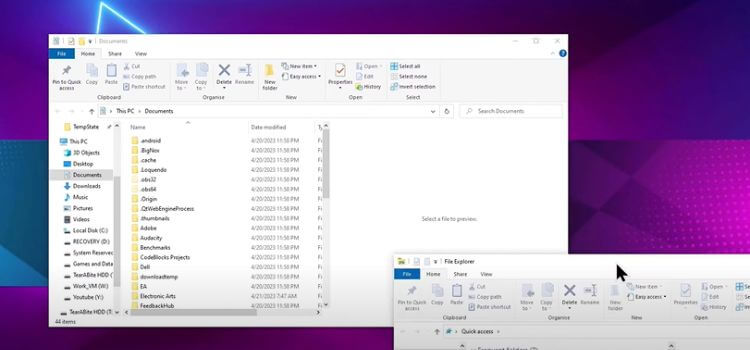
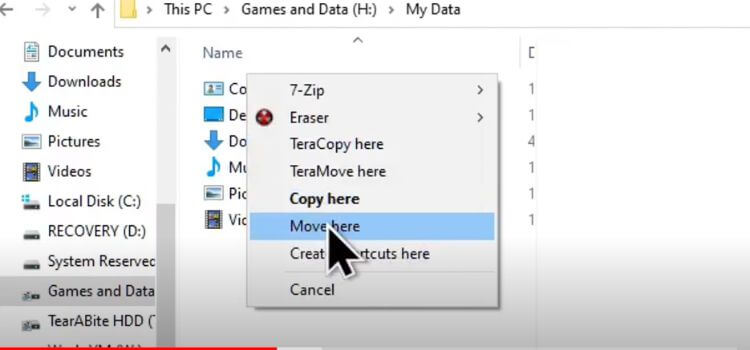
Transfer Mods to the External Drive
Copy your mods folder from your main drive and paste it into the newly created folder on the external drive. This process may take some time, depending on the size of your mod collection.
Update Mod Path in Gaming Platform
Access the settings of your gaming platform (Steam, Nexus Mod Manager, etc.) and update the mod path to reflect the new location on the external drive. This ensures that your gaming platform recognizes and loads the mods correctly.
Test Your Mods
Launch your game and test a few mods to ensure they work seamlessly from the external drive. This step is crucial in verifying the success of the migration process.
Troubleshooting Common Issues
Missing Dependencies
If some mods need to be fixed, double-check for missing dependencies. Ensure all required files are present in the respective mod folders.
Path Errors
If your game displays path errors, revisit the gaming platform settings and verify the correct path to the external drive. Typos or inaccuracies can lead to disruptions in mod loading.
Performance Optimization
If you experience performance issues, consider optimizing your external drive. Defragmentation and regular maintenance can enhance overall drive performance.
Conclusion
In conclusion, relocating your mods folder to an external hard drive is a strategic move for avid gamers. Not only does it optimize your main drive’s space, but it also offers performance benefits and increased portability. Follow this comprehensive guide, and you’ll seamlessly transfer your mods, elevating your gaming experience to new heights.
As an Amazon Associate, I earn from qualifying purchases.
Leave a Reply